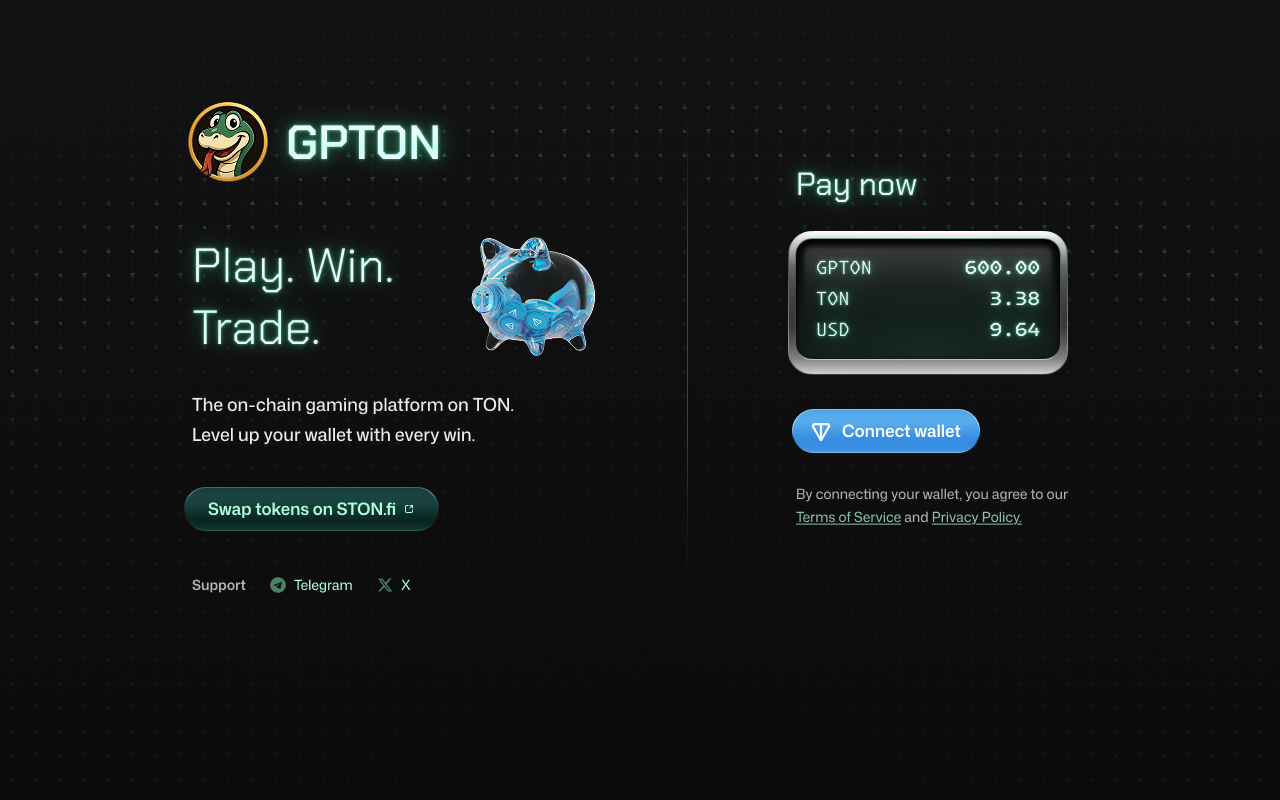
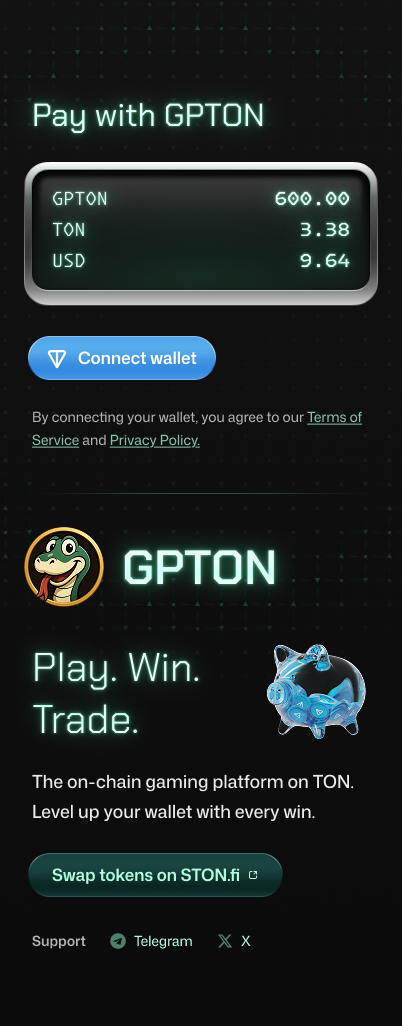
 GPTON Pay
GPTON Pay is a payment provider that allows you to pay using our cryptocurrency, GPTON. It's easy to implement and integrate into your project.
See How Easy It Is


Step 1: Register & Create a Project
Go to the GPTON Pay registration page and create your account. Once registered, log in to your dashboard and navigate to the Projects page. There, create a new project to get started with integrating GPTON Pay.
To create a project, you will need:
- Project Name – a name for your project
- Receiver Wallet Address – where you will receive the crypto payments
- Callback URL (Webhook URL) – your endpoint to receive payment notifications
Step 2: Create a Checkout on Your Server
On your server, create an action to initiate a checkout by making a POST request to the GPTON Pay API. Replace <your_project_id> in the endpoint with your actual project ID.
https://api.gpton.co/api/projects/<your_project_id>/payments| Header | Value | Description |
|---|---|---|
| Content-Type | application/json | Always set to this value |
| x-secret-key | YOUR_PROJECT_SECRET_KEY | Your project's secret key |
| Field | Type | Example | Description |
|---|---|---|---|
| amount | string | "500000000" | Amount in smallest unit (500000000 = 500 GPTON) |
| expireInMinutes | number | 120 | How long (in minutes) the checkout is valid |
| customPayload | string | "[email protected]" | Any custom data you want to attach |
| redirect_url | string | "https://gpton.co" | Where to redirect the user after payment |
amount field should always be specified in the smallest unit. For example, to charge 500 GPTON, use "500000000" (add 6 extra zeros). Replace YOUR_PROJECT_SECRET_KEY with your actual project secret key from the dashboard.You can find your project ID by clicking the View button of a project in your dashboard.
Step 3: Create a Webhook to Catch Payment Notifications
Set up a webhook endpoint on your server to receive payment notifications from GPTON Pay. When a payment is successful, GPTON Pay will send a POST request to your webhook URL with the following payload:
const payload: NotificationPayload = {
  paymentMemo: paymentRequest.memo,
  status: "SUCCESS", // Explicitly state success
  amount: paymentRequest.amount.toString(),
  customPayload: paymentRequest.customPayload,
}
Once your webhook is ready, enter its URL in your project settings in the dashboard. This will ensure you receive real-time payment notifications.
Step 4: You're Done!
You've completed the setup. You can now test your payments to ensure everything is working as expected.
If you encounter any issues or have questions, please email us at [email protected] and we'll be happy to help.